I remember the first time I built a cool little Python script that did something useful. It ran perfectly on my computer, but then I wanted to share it with a friend who had no idea what Python was. I realized my script was useless to them unless they installed a bunch of software. It felt like my creation was trapped on my machine.
I knew there had to be a way to turn my Python script into something anyone could run with a double click. That’s when I discovered the world of py to exe conversion. It was a game changer for me. I spent a lot of time exploring different tools and I want to share my own experience with what I found.
Here is a guide based on my own trial and error, a look at what works, what doesn’t, and which solution is best for a given project.
My Top 6 Ways to Convert Python Scripts to .exe
1. Replit com A Cloud Based Solution
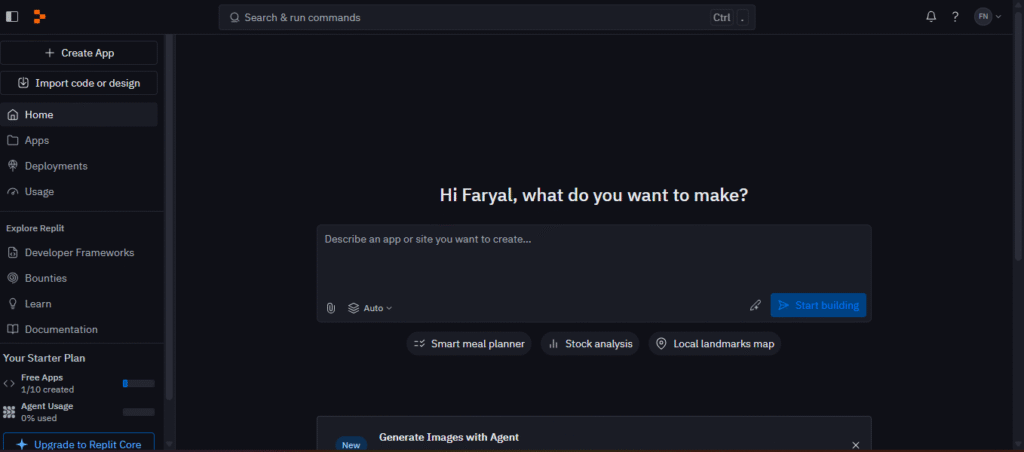
My first big discovery was Replit.com. It is a fantastic all in one coding platform that runs entirely in my web browser. I was able to write my code, and most importantly, package it up without installing anything locally.
The secret with Replit is its built in Nix environment. It allowed me to use tools like PyInstaller right there in the cloud.
I just opened a new project, ran a few simple commands in the shell, and downloaded the final .exe from the files pane. It was a bit slow for my larger projects but for smaller scripts, it was perfect. I recommend this especially for students or anyone who wants to quickly share a simple application.
- Best for: Beginners who want a no setup, all in one solution.
- How it works: I create a new project in Replit, install PyInstaller using Nix, run the build command, and download the
.exefile.
- What I liked: No local installation was required. There is a free plan. It is very beginner friendly.
- What was difficult: There was a slight learning curve with Nix. It was also a bit slow for big scripts.
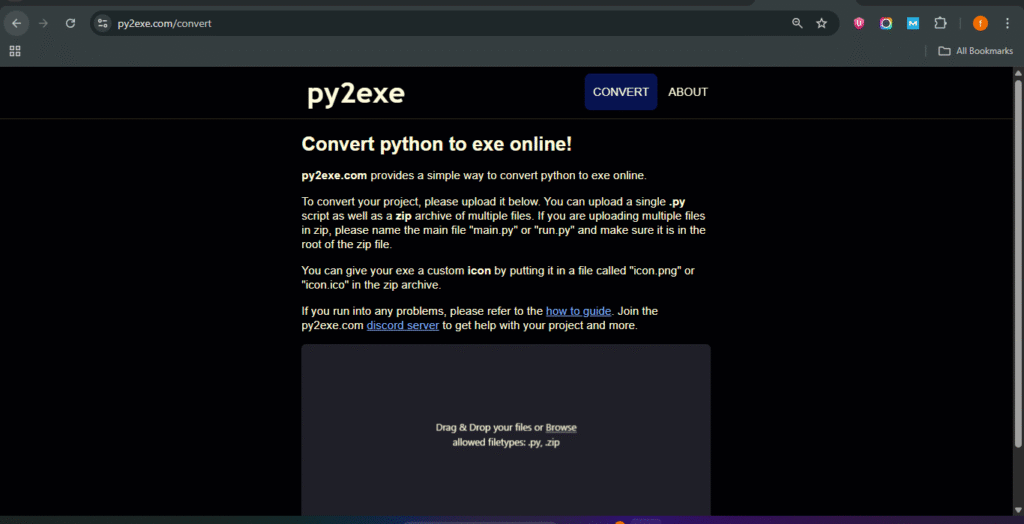
2. The py2exe.org Online Tool For Simple Scripts
I came across py2exe.com as a quick fix for a small project. This online tool is incredibly simple and straightforward. You just upload your .py file, click a button, and it gives you back a Windows .exe file in seconds.
The best part is that it is fast and requires no login or special setup. The downside I found was its major limitation with dependencies. It only works well for very basic scripts. If your code relies on any external libraries, this tool probably will not work for you. I use this now for only the simplest of tasks.
- Best for: Converting very simple scripts online.
- How it works: I upload my
.pyfile to the website, choose the settings I need, and download the.exefile. - What I liked: It is fast and simple. There is no account needed.
- What was difficult: It has limited support and often fails on projects with external libraries.
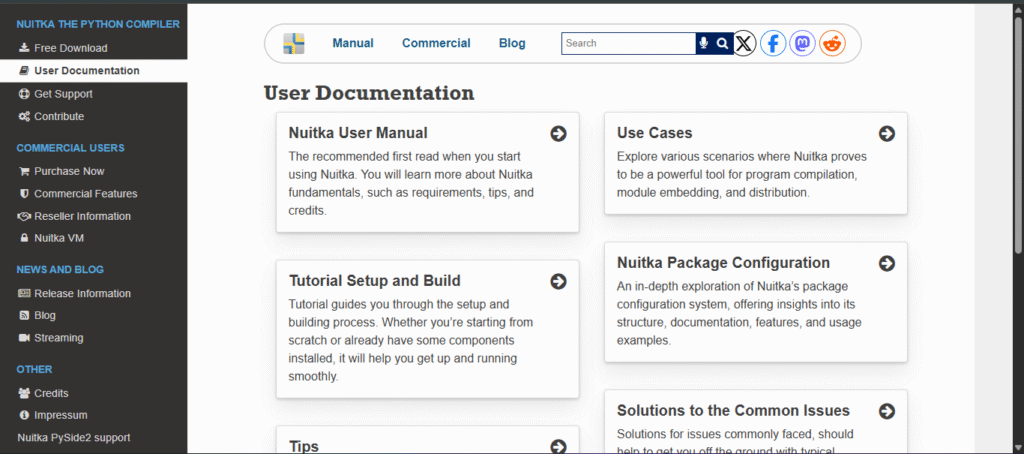
3. Nuitka Compiler with OnlineFront For Performance
When I needed something more serious and faster, I explored Nuitka. Unlike other tools, Nuitka doesn’t just package your script. It compiles your Python code into C, and then into a real, native executable. This makes the final application much faster and harder to reverse engineer.
I used a public GitHub repository called OnlineFront to automate the process. This requires some understanding of GitHub and continuous integration tools, but once I had it set up, it was a very powerful workflow. I found this to be the best solution for my more important projects where speed and security were a top priority.
- Best for: Intermediate developers who need high performance.
- How it works: Nuitka compiles the code to C, which is then compiled to machine code. I use a GitHub Action to automate the process.
- What I liked: It creates a real, fast executable. It also provides better code protection. It is highly customizable.
- What was difficult: It is not beginner friendly. It requires knowledge of GitHub and CI.
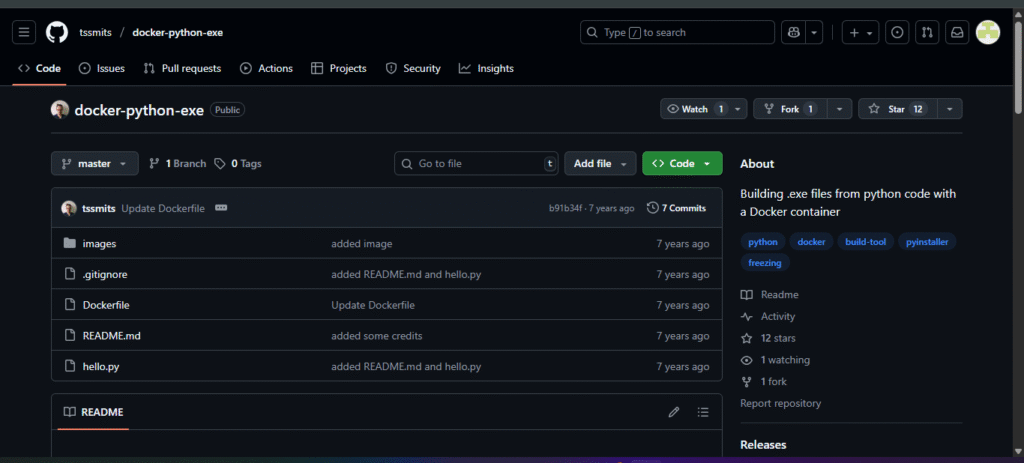
4. GitHub Codespaces Docker and PyInstaller A Team Solution
For a collaborative project with a few friends, we decided to use GitHub Codespaces. This gives you a preconfigured Visual Studio Code environment in the cloud. The key for us was combining it with Docker and PyInstaller.
Using Docker meant our build environment was identical for everyone. We avoided all the “it works on my machine” problems that can plague team projects.
We set up a Dockerfile with all our dependencies, and then we could build our .exe files directly from the Codespace terminal. It was not ideal for a quick one off build, but for our team project, it was a lifesaver.
- Best for: Teams and developers who already use GitHub.
- How it works: I launch a Codespace, set up a Docker image, and run my PyInstaller build.
- What I liked: It is completely repeatable and eliminates local machine strain. It is perfect for collaborative work.
- What was difficult: It requires a GitHub account. It is too much for simple projects.
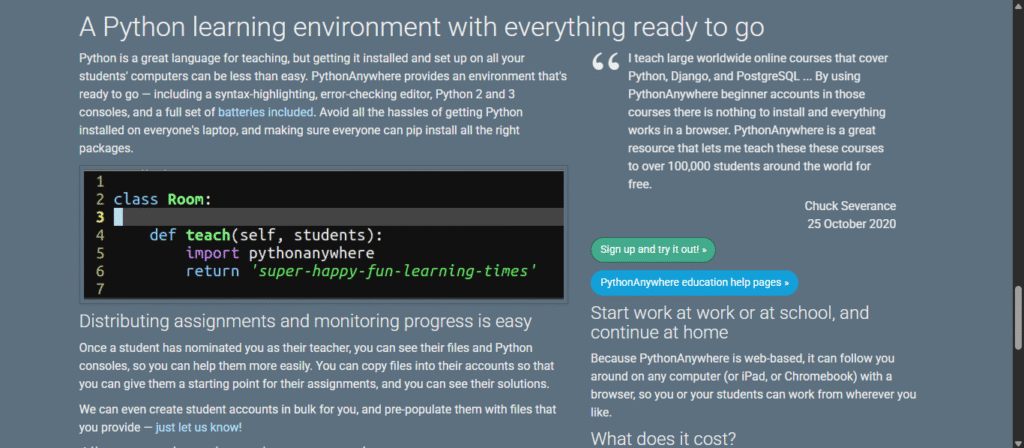
5. PythonAnywhere and an External Build Script A Flexible Approach
My experience with PythonAnywhere was a bit different. This platform is mainly for hosting web apps, but I realized I could use it in a creative way. My PythonAnywhere account ran on Linux, so I couldn’t build a Windows .exe there directly.
Instead, I used PythonAnywhere to host the script and then set up a scheduled task to trigger an external build server. The .exe would then be sent back to my PythonAnywhere file system or uploaded to Dropbox.
This was a complex setup, but it gave me a lot of flexibility and was great for my automated projects. I would not recommend this for a beginner, but it is a powerful approach for an intermediate developer.
- Best for: Web developers who are already using PythonAnywhere.
- How it works: I upload my script, and then a remote script calls PyInstaller. The final
.exeis sent back to me via cloud storage. - What I liked: It leverages the power of the cloud safely. It does not use any of my own system’s resources.
- What was difficult: It required a lot of setup and configuration.
6. Build Your Own Web Based Converter For Full Control
This is a bonus idea that I have explored. If you are an advanced user who wants complete control over everything, you can build your own converter using a framework like Flask or Django. My idea was to create a web interface where a user could upload a file and my server would handle all the conversion.
This is a big project. You have to handle everything from user interface design to backend security. However, it gives you the ability to add your own features and scale the service to multiple users. I have only done this as a personal project so far, but it is a very powerful concept for a developer who wants to learn more about server side applications.
- Best for: Advanced users who want full control.
- How it works: I would set up a Flask or Django app to run PyInstaller on uploaded files and then return the result.
- What I liked: I would have full control over the user interface and features. It can be scaled to serve many users.
- What was difficult: It requires hosting and a deep understanding of file security.
Lets Build our own py to exe converter.
A Step by Step Guide to a Py to Exe Converter
I can absolutely provide a step by step guide to creating your own py to exe web application using Flask. This project is a fantastic way to learn about web development, backend logic, and file handling.
This guide will show you how to build a simple, but functional, converter that accepts a Python file and provides a link to download the compiled .exe.
Step 1: Setting up Your Project Environment
First, you need to set up your project directory and install the necessary libraries. I recommend creating a new folder for this project.
Create a Project Directory:
					mkdir py_converter
cd py_converter
- Create a Virtual Environment: This is a best practice to keep your project dependencies isolated.
python -m venv venv
Activate the Virtual Environment:
-
On macOS and Linux:
source venv/bin/activate
- On Windows:
venv\Scripts\activate
Install Required Libraries: You will need Flask to create the web server and PyInstaller to handle the conversion.
Install Required Libraries: You will need Flask to create the web server and PyInstaller to handle the conversion.
Step 2: Building the Flask Web Application
Now, let’s write the core of the web application. You will need a main Python file for the server and a template for the front end.
- Create the Server File (
app.py): This file will handle file uploads, run the PyInstaller command, and manage the downloads
					import os
from flask import Flask, request, render_template, send_file, redirect, url_for
import subprocess
import shutil

app = Flask(__name__)
app.config['UPLOAD_FOLDER'] = 'uploads/'
app.config['CONVERTED_FOLDER'] = 'converted/'

# Create the necessary directories if they don't exist
os.makedirs(app.config['UPLOAD_FOLDER'], exist_ok=True)
os.makedirs(app.config['CONVERTED_FOLDER'], exist_ok=True)

# Route for the home page (file upload form)
@app.route('/')
def index():
    return render_template('index.html')

# Route to handle the file upload and conversion
@app.route('/convert', methods=['POST'])
def convert():
    if 'file' not in request.files:
        return redirect(url_for('index'))

    file = request.files['file']
    if file.filename == '':
        return redirect(url_for('index'))

    if file and file.filename.endswith('.py'):
        # Save the uploaded file
        filepath = os.path.join(app.config['UPLOAD_FOLDER'], file.filename)
        file.save(filepath)

        # Get the base filename without the extension
        base_filename = os.path.splitext(file.filename)[0]

        # Define output directory for PyInstaller
        output_dir = os.path.join(app.config['CONVERTED_FOLDER'], base_filename)

        # Run PyInstaller
        try:
            # This command will convert the .py file to a single .exe
            # --onefile creates a single executable
            # --distpath specifies the output directory
            subprocess.run(['pyinstaller', '--onefile', filepath, '--distpath', output_dir], check=True)

            # Find the generated executable
            exe_name = f"{base_filename}.exe"
            exe_path = os.path.join(output_dir, exe_name)

            if os.path.exists(exe_path):
                # Redirect to a success page with a download link
                return render_template('download.html', exe_name=exe_name, base_filename=base_filename)
            else:
                return "Error: Executable not found after conversion.", 500

        except subprocess.CalledProcessError as e:
            return f"An error occurred during conversion: {e}", 500

# Route to serve the converted file for download
@app.route('/download/<path:filename>')
def download(filename):
    filepath = os.path.join(app.config['CONVERTED_FOLDER'], filename)
    # Security: ensure file is within the allowed directory
    return send_file(filepath, as_attachment=True)

if __name__ == '__main__':
    app.run(debug=True)
Step 3: Creating the Front End HTML
Next, you need to create the user facing parts of the application. This will be a simple upload form and a download page.
-
Create a
templatesdirectory:
mkdir templates
- Create the upload form (
templates/index.html):
					<!DOCTYPE html>
<html lang="en">
<head>
    <meta charset="UTF-8">
    <meta name="viewport" content="width=device-width, initial-scale=1.0">
    <title>Py to Exe Converter</title>
    <style>
        body { font-family: Arial, sans-serif; text-align: center; margin-top: 50px; }
        .container { max-width: 600px; margin: auto; padding: 20px; border: 1px solid #ccc; border-radius: 10px; }
        h1 { color: #333; }
        .upload-form { margin-top: 20px; }
        input[type="file"] { margin-bottom: 10px; }
        input[type="submit"] { padding: 10px 20px; background-color: #007BFF; color: white; border: none; border-radius: 5px; cursor: pointer; }
        input[type="submit"]:hover { background-color: #0056b3; }
    </style>
</head>
<body>
    <div class="container">
        <h1>Py to Exe Converter</h1>
        <p>Upload your Python (.py) script and we'll convert it to a Windows executable (.exe).</p>
        <form class="upload-form" action="/convert" method="post" enctype="multipart/form-data">
            <input type="file" name="file" accept=".py" required>
            <br>
            <input type="submit" value="Convert to EXE">
        </form>
    </div>
</body>
</html>
- Create the download page (
templates/download.html):
<!DOCTYPE html>
<html lang="en">
<head>
<meta charset="UTF-8">
<meta name="viewport" content="width=device-width, initial-scale=1.0">
<title>Download Your EXE</title>
<style>
body { font-family: Arial, sans-serif; text-align: center; margin-top: 50px; }
.container { max-width: 600px; margin: auto; padding: 20px; border: 1px solid #ccc; border-radius: 10px; }
h1 { color: #333; }
p { margin-top: 20px; }
.download-link { padding: 10px 20px; background-color: #28a745; color: white; text-decoration: none; border-radius: 5px; }
.download-link:hover { background-color: #218838; }
</style>
</head>
<body>
<div class="container">
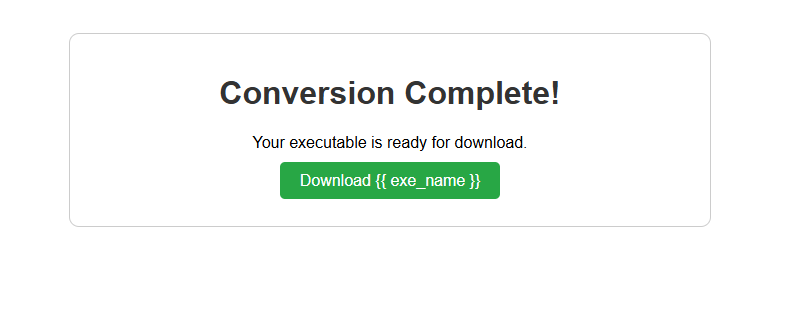
<h1>Conversion Complete!</h1>
<p>Your executable is ready for download.</p>
<p>
<a href="{{ url_for('download', filename=base_filename + '/' + exe_name) }}" class="download-link" download="{{ exe_name }}">Download {{ exe_name }}</a>
</p>
</div>
</body>
</html>
Step 4: Running the Application
With all the files created, you can now run your web server and test the converter.
Run the Flask app: Make sure your virtual environment is activated.
flask run
-
Access the application: Open your web browser and go to
http://127.0.0.1:5000. You should see the upload form. -
Test the converter: Create a simple Python script (
hello.py) and upload it.
					# hello.py
print("Hello from the converted .exe!")
input("Press Enter to exit...")
After uploading and clicking “Convert to EXE”, the server will run PyInstaller and provide a download link to your new hello.exe file.
Important Security and Production Considerations
While this project is a great learning tool, it is important to remember that it is a simplified version. For a production environment, you would need to add significant security measures, such as:
-
File Type Validation: More robust checks to ensure only
.pyfiles are uploaded. -
Sandboxing: Running the conversion process in a secure, isolated container (like a Docker container) to prevent malicious scripts from harming your server.
-
Input Sanitization: Cleaning the filename to prevent path traversal attacks.
-
Asynchronous Processing: Using a task queue (like Celery) to handle long running conversions in the background so the web server does not time out.
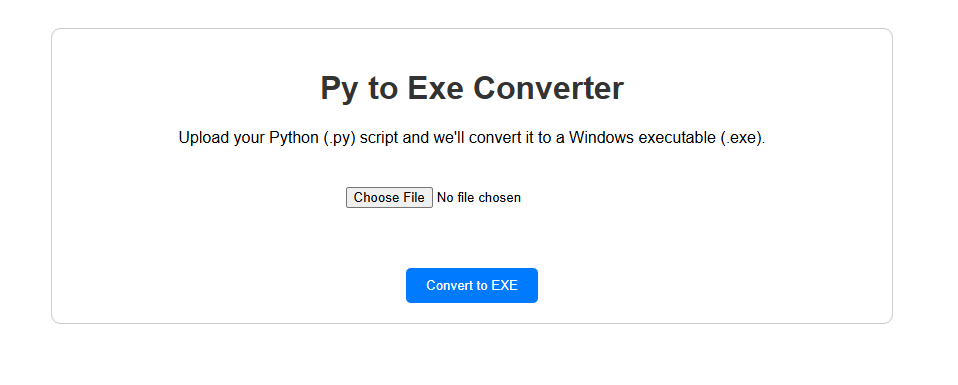
This will be the interface of Your own py to exe converter.
So Which method Should You Choose
After all my experience, here is my final recommendation.
If you are a beginner just trying things out, start with Replit or
py2exe.org. They are the easiest and fastest.If you are working on a small personal app, PythonAnywhere or Replit are great choices.
If you are releasing software commercially, I would go with Nuitka and GitHub.
If you want complete control over the entire flow, build your own converter.
In the end, I learned that converting Python scripts to executables is no longer a chore. With so many great online tools and cloud based services, anyone can turn their code into something shareable with zero local setup. It has made my Python projects feel more complete and accessible to a wider audience.
Explore further into the fascinating world of python by reading my main pillar post:
Python For AI – My 5 Years Experience To Coding Intelligence
To Run, Generate, Explain, and Troubleshot Python code use our free AI Python Coding Assistant.

Stay ahead of the curve with the latest insights, tips, and trends in AI, technology, and innovation.